
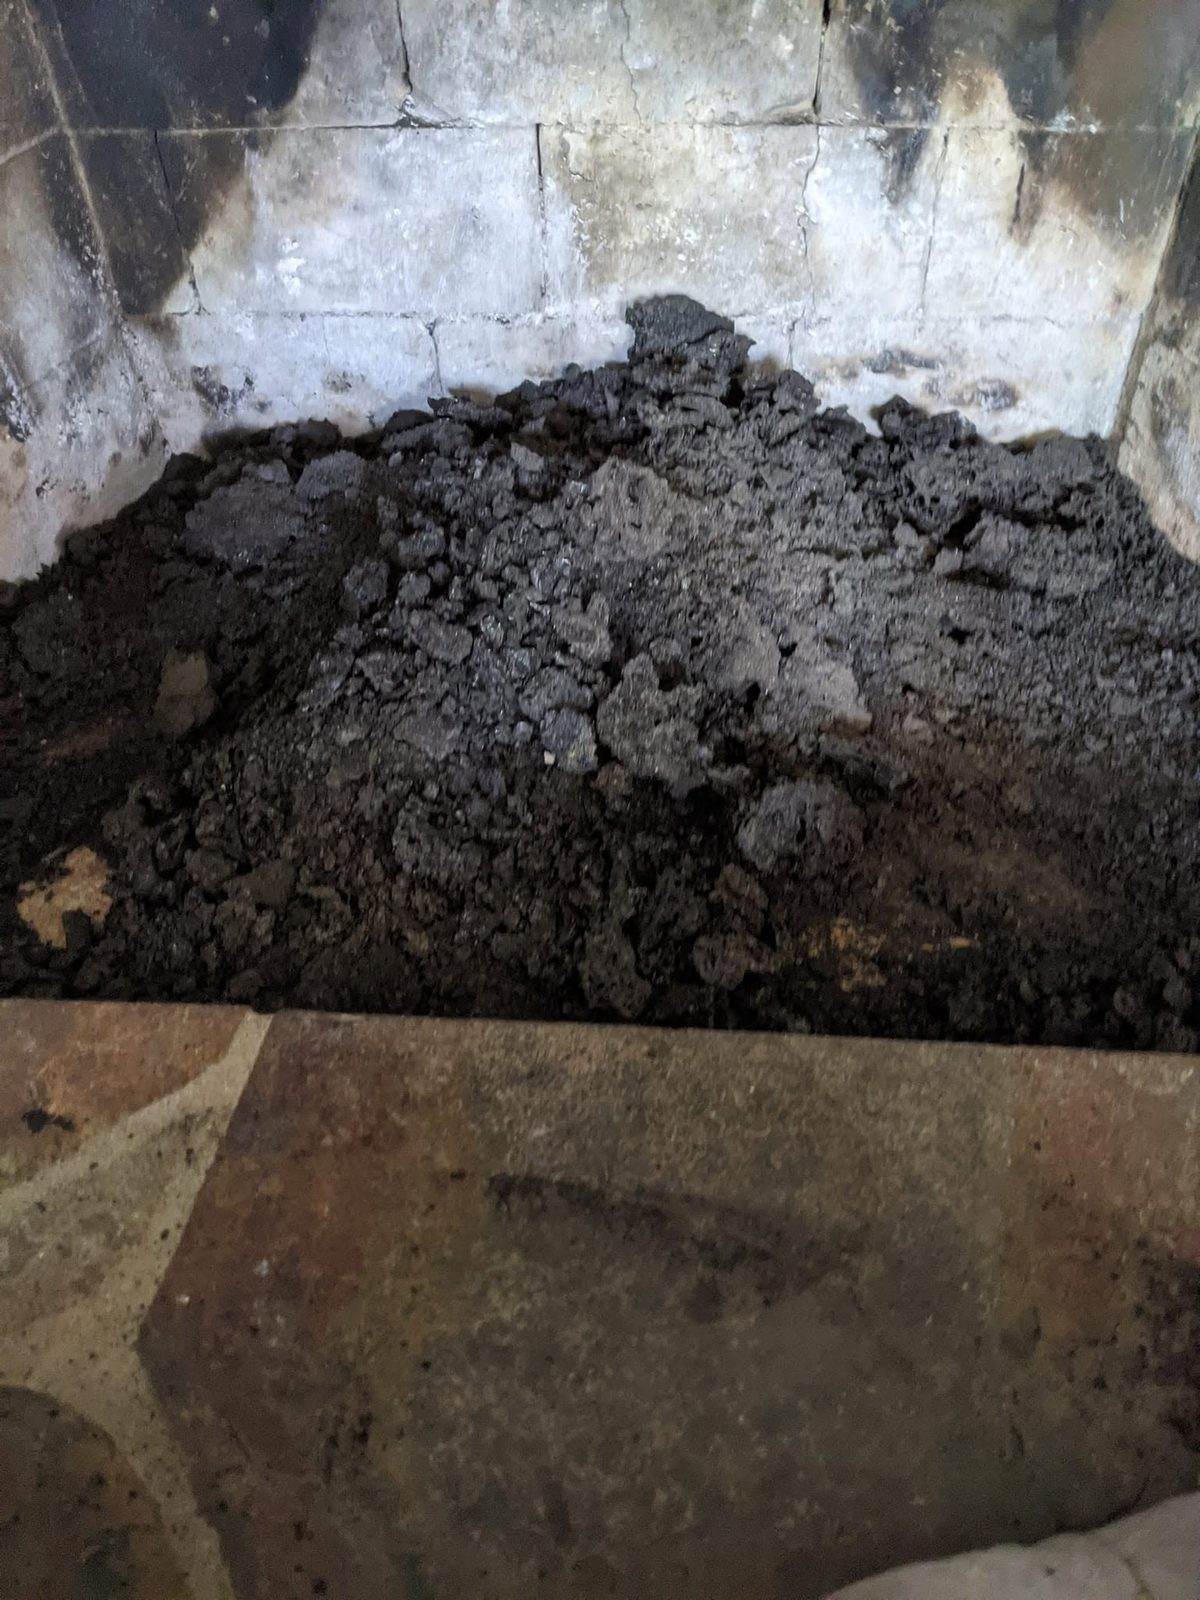
The firebox is the part of a fireplace that directly contains the fire. Its walls and floor experience heat, cooling, ash, occasional impact, and repeated movement. Fine surface checking in a unit, an eroded mortar joint, a loose firebrick, and a crack that continues into surrounding masonry are different conditions. A photograph can begin the conversation, but location, depth, stability, and construction determine the repair.
Do not assume every line is harmless because the fireplace has “always looked that way.” Also do not accept a complete rebuild based on a single tight surface mark without context. A professional fireplace inspection should identify whether the opening is masonry or factory-built and evaluate the crack alongside the hearth, lintel, throat, damper, smoke chamber, and flue.
On this page
- First identify the firebox type
- Map the crack before interpreting it
- Mortar-joint erosion can be localized
- Cracked or spalled firebrick needs material-specific evaluation
- Lintel and opening cracks deserve closer attention
- Water can damage a firebox from above or below
- The smoke chamber and liner may reveal a larger pattern
- Heat-resistant does not mean immune to misuse
- Ordinary patch products do not belong in the firebox
- Repair versus rebuild depends on continuity and access
- Protect the room and household during work
- Document completion and future changes
- Frequently asked questions
First identify the firebox type
A site-built masonry fireplace commonly uses firebrick and refractory mortar within a larger masonry assembly. A factory-built fireplace often uses molded refractory panels inside a metal firebox. Panels can have a brick pattern that looks like individual masonry units, so appearance alone can mislead.
The distinction changes repair options. Individual firebrick and joints may be replaced in a masonry firebox using compatible high-temperature materials and proper bonding. A factory-built unit must follow its manufacturer and model instructions; generic brick or mortar can interfere with its tested assembly.
Look for a rating plate or model label only where it is safely visible. Do not remove panels or trim to find it. If construction remains uncertain, let the inspector identify it before any patching begins.
Map the crack before interpreting it
Note whether the line follows a mortar joint, crosses through a firebrick, starts at a corner, runs from the lintel, or continues onto the hearth. Check for displacement: are both sides in the same plane, or has one moved? Look for loose pieces, missing mortar, crumbling edges, or a view into a cavity behind the firebrick.
Photograph the whole firebox and then the defect with a scale, after the system is cold. Repeat the photograph if the line changes over time. Do not scrape or widen it to measure depth. A stable hairline surface check presents different evidence from a widening, open, or displaced crack.
Black staining does not show depth. Soot can make an ordinary joint look wider, while a clean patch can hide movement. Inspection may require appropriate cleaning before the substrate can be evaluated.
Mortar-joint erosion can be localized
Refractory mortar joints can weather, crack, or lose material while surrounding firebrick remains solid and aligned. A localized repair may remove unsound material, prepare the joint, and install a refractory product suitable for the firebox. Surface caulk or ordinary masonry mortar is not an equivalent substitute.
The repair should have enough depth and support to remain in the joint. Smearing material across soot-covered faces may create a neat photograph but poor bond. Product instructions govern surface preparation, placement, curing, and the wait before firing.
If many joints are open or the brick has become loose, spot pointing may not restore the assembly. The provider should explain where sound work begins and whether removing one unit will destabilize adjacent courses.
Cracked or spalled firebrick needs material-specific evaluation
Firebrick is designed for high-temperature service, but impact, thermal cycling, moisture, unsuitable prior repairs, or movement can damage it. A shallow surface line with no displacement may be treated differently from a brick broken through, missing a face, or rocking in place.
Replacement units should match the intended refractory application and dimensions. An ordinary exterior face brick is not automatically suitable because it fits the opening. Cutting and setting must preserve the firebox geometry and joint pattern, and debris must be controlled so it does not enter hidden spaces.
If a defect repeats at the same corner or across multiple units, investigate movement or support rather than replacing brick indefinitely. The visible unit may be the symptom, not the cause.
Lintel and opening cracks deserve closer attention
The lintel supports masonry above the fireplace opening in many constructions. Corrosion, movement, poor bearing, or thermal stress can create cracking near its ends or along the top of the opening. A gap that follows the lintel is not simply another bed joint to fill without evaluation.
Look for sagging, separated brick, rust staining, or an opening that has changed shape. Do not strike or pry the lintel. Work above the opening may affect the throat and smoke chamber, and support can be required during repair.
If movement appears active or extensive, broader firebox repair and rebuilding may be needed. A written scope should state whether the lintel, surrounding masonry, smoke chamber, and finish facing are included.
Water can damage a firebox from above or below
Rain entering through the cap, crown, flashing, or masonry can travel to the smoke chamber and firebox. Water can wash joints, stain units, corrode metal, and create freeze-related damage in an unused or cold system. Hearth cracks may also relate to movement or moisture beneath the assembly.
If the crack appears with dampness, odor, white deposits, or rust, combine interior repair with chimney leak repair diagnosis. Patching a wet firebox without correcting the source can lead to poor bond and recurrence.
In St. Louis and Kansas City, note whether symptoms follow wind-driven rain, prolonged storms, or snowmelt. Local weather provides timing evidence, but it does not identify the exact entry point.
The smoke chamber and liner may reveal a larger pattern
A crack at the rear or top of the firebox can continue into masonry that is not visible from the room. Open joints or deterioration in the smoke chamber may require separate access and repair. Liner fragments or a suspected chimney fire also change the needed inspection scope.
CSIA’s Level 2 masonry-fireplace procedure includes observation of firebox walls and floor, lintel, throat, damper, smoke chamber, hearth, and liner connection. This system view helps prevent an attractive spot repair from being mistaken for evaluation of the entire fireplace. CSIA Level 2 masonry-fireplace procedure.
If a damaging event is suspected, stop use and report the history before cleaning removes evidence. Do not assume the visible firebox crack is the only heat-affected area.
Heat-resistant does not mean immune to misuse
An oversized fire, excessive grate loading, burning prohibited fuel, or direct impact from logs can stress components. Liquid accelerants can create flash fire and must never be used. Trash, treated wood, painted scraps, and packaging can burn unpredictably and create harmful emissions.
Use a grate and fuel arrangement permitted for the fireplace. Do not push burning logs against the rear or side wall to make room. Fireplace doors, screens, and dampers should be operated according to their instructions.
Correct use cannot restore a damaged firebox, but it can reduce avoidable impact and overheating after proper repairs are complete.
Ordinary patch products do not belong in the firebox
Drywall compound, concrete patch, general caulk, construction adhesive, tile grout, and unknown mortar are not substitutes for a product intended for direct fireplace conditions. Some can shrink, release fumes, fail under heat, or create harder patches that damage surrounding material.
Even a labeled refractory product must fit the use. Some are designed for thin joints, others for casting or coating. Thickness, substrate, temperature rating, cure, and firing schedule matter. Follow the current technical data rather than a social-media demonstration.
Do not paint firebrick unless the fireplace manufacturer and selected coating specifically permit the application. Paint can hide cracks and change surface behavior.
Repair versus rebuild depends on continuity and access
Isolated stable damage may be repaired by replacing a unit or restoring a joint. A partial wall rebuild may be appropriate when one elevation has widespread failure but sound returns remain. A full firebox rebuild becomes more plausible when units are loose across several walls, geometry is wrong, the floor or back wall has failed deeply, or repairs cannot bond to a stable base.
The proposal should show demolition limits, replacement material, joint treatment, lintel handling, smoke-chamber interface, protection of the room, curing, and final inspection. Ask what happens if hidden deterioration appears and require approval before scope expands.
Rebuilding the firebox does not automatically reline the chimney or repair exterior masonry. Those items should be named separately if needed.
Protect the room and household during work
Firebox demolition releases soot, refractory dust, and masonry debris. Floor covering should extend beyond the hearth, the work zone should be isolated as appropriate, and dust collection should suit the process. Children and pets should remain away.
Workers cutting masonry need controls for respirable silica and appropriate protective equipment. A household vacuum is not suitable for hot ash or professional dust containment. Ask how debris will be removed without tracking it through the home.
After repair, observe the written cure time. A surface that feels dry may not be ready for direct flame. The first-fire procedure, if any, should come from the material instructions.
Document completion and future changes
Keep before, prepared-substrate, in-progress, and completed photographs. The prepared view shows whether loose material was removed and which units were replaced. Retain product names and cure instructions.
After use resumes, report a reopened joint, new displacement, loose material, or repeated water promptly. Normal soot can darken new work, so appearance alone should not be confused with failure. Dated photos from the same angle provide a better comparison.