
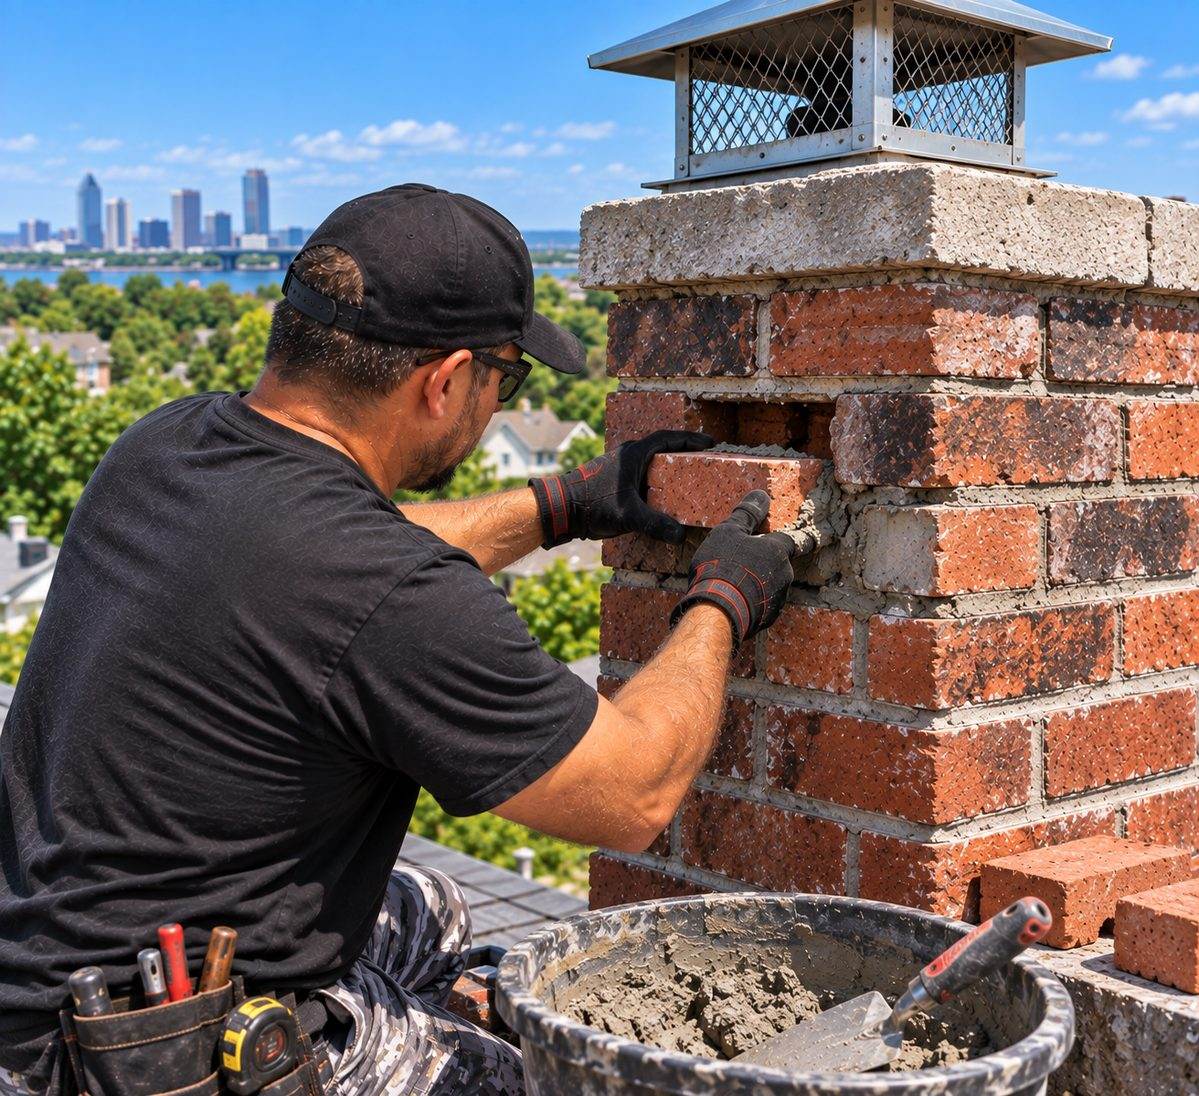
On an older brick chimney, mortar is not decorative filler. It bonds the masonry, accommodates movement, and participates in how the wall absorbs and releases moisture. When joints erode, crack, or separate, careful chimney tuckpointing can restore weather resistance and continuity. When the wrong mortar or shallow technique is used, the work may look crisp for a season while accelerating damage to the brick around it.
St. Louis has homes from many periods, materials, and repair histories. Two similar-looking red-brick chimneys may contain different brick hardness, mortar composition, wall construction, and exposure. The responsible process therefore begins with evaluation and sample work—not a universal bag mix selected only because its color looks close.
On this page
- Tuckpointing and repointing are often used interchangeably
- Begin with a condition survey, not a grinder
- Older brick can be softer than modern repair mortar
- Mortar analysis can be more useful than guessing by color
- Proper joint removal protects the brick edges
- Preparation makes the new mortar part of the joint
- Weather and curing are part of the installation
- Tuckpointing cannot repair a failed brick
- Water management must accompany the mortar work
- Painted and previously coated chimneys need additional caution
- Historic character includes the joint profile
- How to evaluate a tuckpointing proposal
- Frequently asked questions
Tuckpointing and repointing are often used interchangeably
In traditional masonry vocabulary, repointing means removing deteriorated mortar and placing new mortar in the joint. Historic tuckpointing can refer to a more decorative technique that uses contrasting fine lines to create the appearance of narrow joints. In everyday chimney service, homeowners and contractors often use “tuckpointing” to mean repointing.
The wording matters less than the written scope. Ask whether loose mortar will be removed to a meaningful depth, whether joints will be cleaned and prepared, how replacement mortar will be selected, how it will be packed and tooled, and what curing protection is included. A surface smear across joint faces is not equivalent to properly prepared repointing.
Clarify the limits, too. Does the proposal include all elevations above the roof, only visibly failed areas, or a test section? Are crown, flashing, cap, and damaged brick separate? Clear boundaries prevent the phrase “tuckpoint entire chimney” from hiding major differences between bids.
Begin with a condition survey, not a grinder
Before removing mortar, the evaluator should look for the pattern and cause of deterioration. Are joints uniformly weathered, or is damage concentrated beneath the crown? Do cracks follow a stair-step path? Are brick courses displaced? Is the chimney leaning? Are individual faces spalling while mortar remains very hard? These conditions do not all call for the same work.
Probe observations should distinguish loose surface material from deeper loss. Photographs should identify elevations and height. Areas beside flashing or close to a roof need particular planning because careless removal can damage metal and roofing. Interior or attic evidence may reveal water that exterior appearance alone does not explain.
If movement is active, repointing can conceal the symptom without correcting the cause. Wide recurring cracks, separation from the building, or a leaning stack may require structural evaluation and broader chimney masonry repair. Mortar replacement restores joints; it does not pull displaced masonry back into alignment.
Older brick can be softer than modern repair mortar
Historic mortar commonly relied more heavily on lime and less on modern portland cement than many current high-strength mixes. That does not mean every old chimney needs the same soft mortar recipe, but it does mean compressive strength is not the only performance measure. Vapor movement, flexibility, bond, water retention, color, texture, and compatibility with the unit all matter.
Mortar that is substantially harder and less permeable than surrounding brick can force moisture and stress through the units. In freezing conditions, saturated softer brick may lose its face while the hard joint remains proud and intact. The visual impression is sometimes misleading: the newer mortar “held up,” but the assembly performed poorly.
The National Park Service’s Preservation Brief 2 explains that replacement mortar should match the historic mortar’s performance and appearance and should generally be softer than the masonry units. It also warns against using high-portland-cement mortar where it is incompatible. The brief addresses historic buildings nationally; a project still needs material-specific evaluation and applicable local requirements. NPS Preservation Brief 2: Repointing Mortar Joints.
Mortar analysis can be more useful than guessing by color
Color chips or photographs cannot reveal binder proportions, aggregate grading, or performance. For significant older masonry, a representative original sample can help guide selection. The sample should come from a location likely to retain original material rather than an obvious modern patch.
Laboratory analysis may be appropriate for historically important or technically difficult work, but even field comparison can improve a proposal. Examine aggregate color and size, binder appearance, joint profile, hardness, and how the material weathers. A mock-up panel lets the owner review cured color, texture, tooling, and workmanship before the most visible elevations are completed.
Fresh mortar usually looks different from cured mortar. Adding pigment at the last moment to match a wet sample can produce a poor long-term result. Sand contributes much of the visible character, so matching only the cement color is incomplete. The objective is compatible performance first and a respectful visual blend, not an artificial promise that new work will be invisible on day one.
Proper joint removal protects the brick edges
Deteriorated mortar needs to be removed deeply enough to receive a durable new joint. A thin ribbon over unsound material has little mechanical support and can detach. At the same time, excessive cutting can nick the brick, widen joints, reduce bearing edges, and permanently change the historic appearance.
Power tools can be efficient in skilled hands on certain joint widths and conditions, but they are not automatically appropriate. Thin joints, irregular masonry, soft brick, and detailed work may require hand tools or a carefully controlled combination. The chosen method should protect the units and roof. Dust controls and personal protective equipment are essential because masonry cutting produces hazardous airborne silica.
Homeowners should not perform rooftop grinding as a weekend project. Beyond fall risk, an error at one vertical joint can scar a line of brick faces. Dust can enter the house or affect neighboring property. Professional containment, access equipment, and cleanup belong in the scope.
Preparation makes the new mortar part of the joint
After removal, loose particles and dust must be cleared without saturating the building or damaging the units. The joint condition and weather determine how pre-dampening is handled. Very dry masonry can pull water from fresh mortar too quickly; an overly wet joint can interfere with bond or cause smearing. The mortar system’s directions and the mason’s evaluation control the process.
New mortar is placed and compacted in a sequence appropriate to the joint depth and mix. Voids behind a cosmetically full face defeat the purpose. Tooling occurs at the correct stage so the joint is consolidated and shaped to shed water in a manner compatible with the original work. A deeply recessed fashion joint may expose top edges and collect water even if it looks attractive in a sample photograph.
Adjacent brick faces should remain clean. Smearing mortar across the units and later attacking it with harsh acid can trade one defect for another. Good placement and timely cleaning reduce the need for aggressive correction.
Weather and curing are part of the installation
Mortar does not become durable the moment it looks dry. It needs appropriate moisture retention, temperature, and protection while its binder develops. Hot sun and wind can dry it too quickly. Cold conditions can interrupt curing or expose fresh work to freezing. Rain can wash or stain uncured joints.
Ask how scaffolding or access will support protection and whether work will pause in unsuitable conditions. The answer should refer to the selected mortar and forecast, not a universal seasonal slogan. St. Louis weather can shift quickly, so covering, shading, misting, or heating decisions must be planned rather than improvised after the joints are open.
A contractor should also explain when adjacent coatings or water-repellent treatment may be applied. Premature treatment can interfere with curing or trap construction moisture. Product instructions and substrate conditions determine the interval.
Tuckpointing cannot repair a failed brick
Mortar work is appropriate when the units remain serviceable and the joints are the main defect. A brick that has lost its face, cracked through, become loose, or deteriorated deeply may need selective replacement. The new unit should match dimensions, physical behavior, and appearance closely enough to work in the wall.
If many units are failing, determine why. A hard prior mortar, chronic crown leak, absent cap, failed flashing, trapped moisture, or unsuitable coating may be contributing. Replacing a few faces without correcting the source invites recurrence. Extensive damage or displacement may move the project from repointing to partial chimney rebuilding.
The proposal should distinguish brick replacement from mortar replacement. Count or map affected units where practical, describe how new brick will be toothed into sound work, and state what happens if hidden damage appears during joint removal.
Water management must accompany the mortar work
New joints will still be exposed to water entering from above. Inspect the crown for cracks, drainage, edges, and the joint around flue tiles. Check caps and terminations. Review flashing where the chimney passes through the roof. A wetting pattern concentrated beneath one defect should not be treated as general joint aging.
A chimney leak repair plan may combine several targeted scopes. The sequence should keep new mortar from being saturated by a known top defect. It should also avoid damaging completed work when flashing or crown construction follows.
After compatible repairs cure, vapor-permeable chimney waterproofing may be considered for suitable exposed masonry. It should reduce liquid-water absorption without forming a non-breathable film. It does not make incorrect mortar compatible or replace a sound crown and flashing assembly.
Painted and previously coated chimneys need additional caution
Paint can hide joint edges, cracks, and brick condition. Removing it may damage the fired surface, while leaving it can complicate drying and mortar bond. A peeling coating often signals preparation failure, moisture pressure, incompatible paint, or a combination. Simply repointing the most visible cracks and repainting may preserve the underlying moisture problem.
Identify the coating and evaluate adhesion before deciding on removal. Lead-safe practices may be required for older painted surfaces; do not grind unknown coatings and release dust. This work can require coordination beyond ordinary chimney masonry.
A clear scope states whether coating removal, joint work, cleaning, and repainting are included. If the contractor cannot inspect covered joints fully, that limitation belongs in the report.
Historic character includes the joint profile
Older St. Louis brickwork may use concave, flush, weathered, struck, grapevine, ruled, or other joint treatments. The profile changes shadow lines and how water rests or runs. Replacing a narrow original joint with a wide smeared band can alter the chimney even if the color is close.
Photograph protected original areas before work and agree on a mock-up. Where a historic district or landmark rule applies, verify approval requirements before mobilization. This article cannot determine whether a specific property is regulated. The owner or contractor should confirm current requirements with the relevant local authority.
Preserving appearance does not mean preserving failed material at any cost. Sound repairs balance fabric retention, performance, safety, and the owner’s reasonable expectations. Document any area where prior alterations make exact restoration impractical.
How to evaluate a tuckpointing proposal
Look beyond price per square foot. The bid should identify the work area, removal depth or performance standard, removal method, mortar selection process, sample or mock-up, joint profile, brick replacements, curing protection, access, roof protection, cleanup, and treatment of adjacent defects. It should separate assumed quantities from unit prices for hidden conditions.
Ask who will perform the masonry and who will supervise it. Request photographs of comparable *types* of work without accepting them as proof that your chimney needs the same scope. A warranty, if offered, should be read as written; no generic article can establish its coverage.
When work is complete, retain before, mock-up, in-progress, and after photographs. The best documentation includes prepared joints before filling, because the finished surface alone cannot prove that deteriorated mortar was removed properly.